Saturday, July 31, 2010

A day off to shop, but I'm back!

Since we are currently hosting a Swiss student at home, I've been having some wonderful girl time with her, getting to play the all-knowing tour guide as we wander up and down the California coast. Friday I was lucky enough to be off work so we went shopping and showed off our rather large malls nearby, and then Saturday we went to the Monterey Bay Aquarium. I'm always a little anxious about going there because it's always SO crowded, but there were some new displays up with flamingos, penguins and the CUTEST little sea turtles I've ever seen in my entire life. I was having serious ticking-biological clock problems with the cuteness surrounding me.
But somehow I managed to avoid making any serious mistakes (like kidnapping a little sea otter and taking it home with me...) and thoroughly enjoyed our time in Monterey. As is tradition, we at at the Fisherman's Grotto on the pier and my dad and I both ordered broiled scallops (something I tend to avoid because they're not always fresh), and they were absolutely heavenly! I am still dreaming about them now, hours later because the ginger-lime sauce they came in was just perfect.
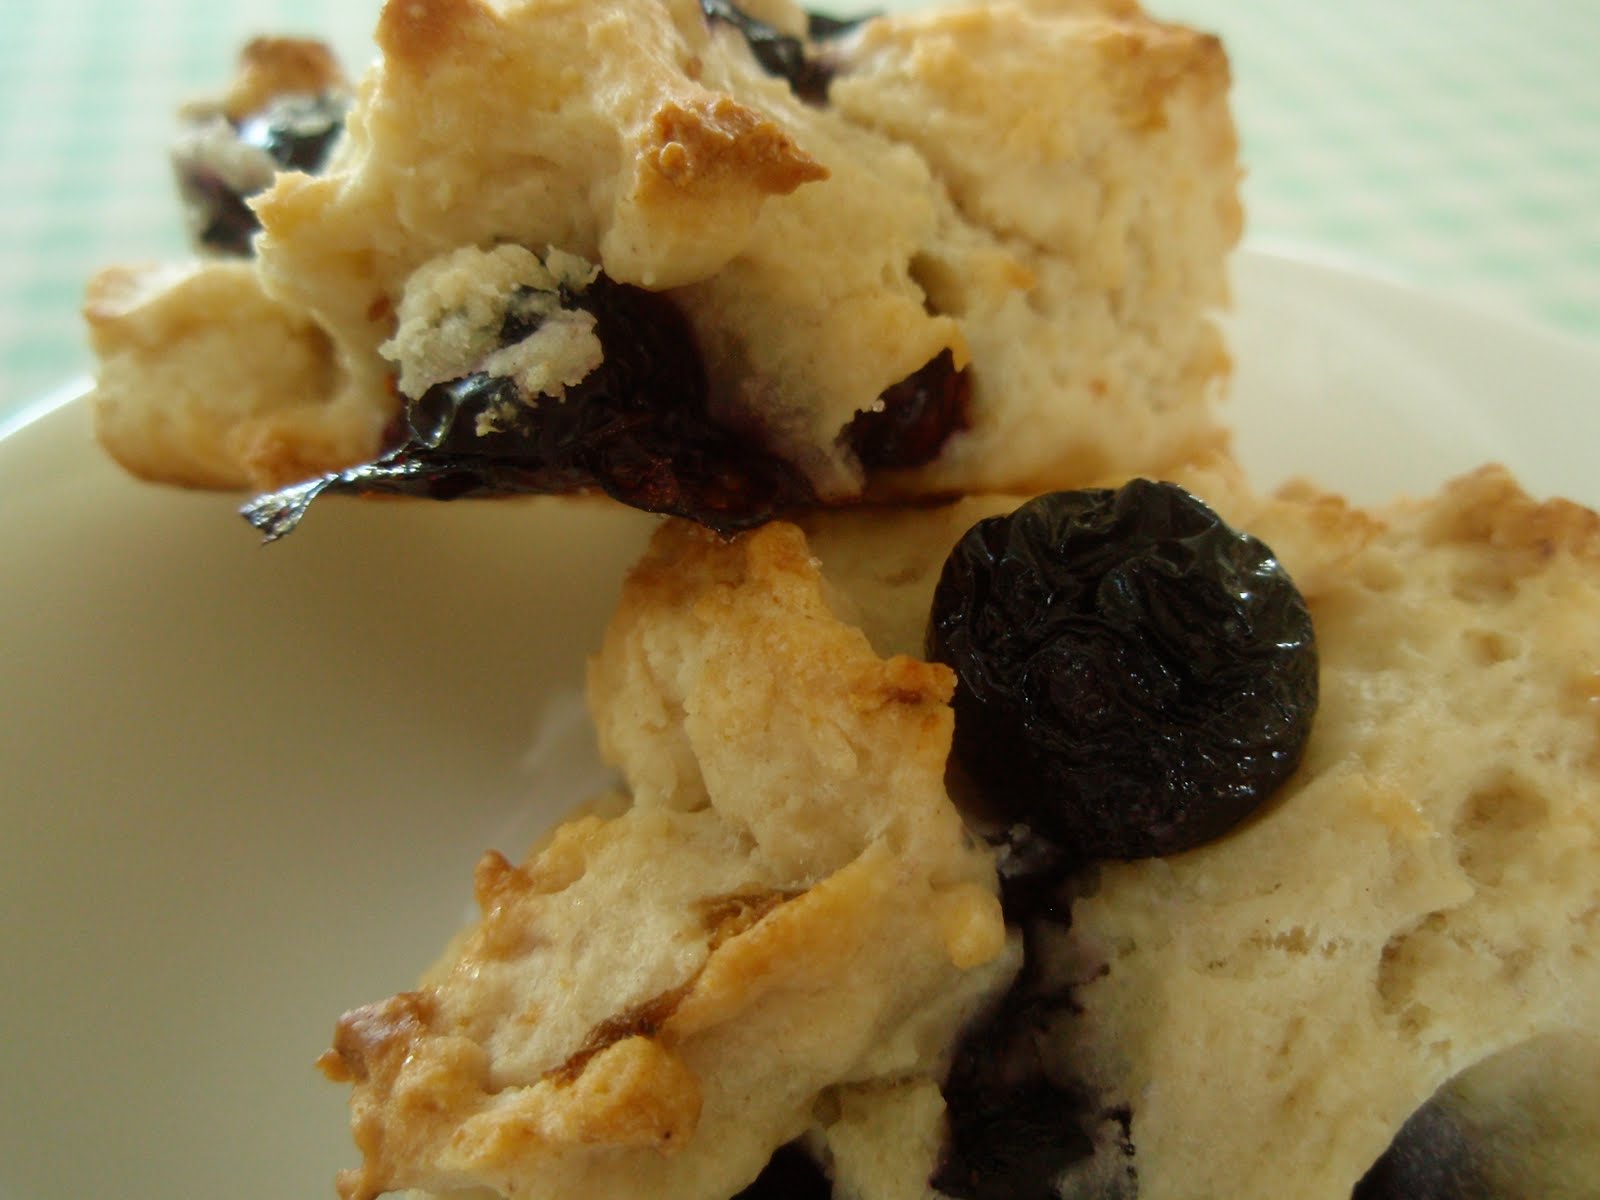
But anyways, here is the simple recipe baked up for us before our drive down to the bay. It's really a wonderful way to showcase any fruit you like, and the apricots that had been sitting on our counter for a few days, along with a couple fresh, juicy and tangy nectarines was the perfect send-off.

Apricot-Nectarine Crumble

Ingredients:
  • 6 apricots
  • 2 nectarines
  • 2 tablespoons granulated sugar
  • 4 tablespoons flour
  • 4 tablespoons oats
  • 3 tablespoons ground
  • 3 tablespoons brown sugar
  • 1/4 teaspoon salt
  • 2 tablespoons butter, melted

Directions:
  1. Preheat oven to 350 degrees F.
  2. Wash fruits and dry thoroughly. Pit fruits and cut into cubes. In a medium bowl sprinkle granulated sugar over fruit and mix to combine.
  3. In a small bowl, combine flour, oats, ground almonds, brown sugar and salt.
  4. Add melted butter and mix until a crumbly mixture forms.
  5. Pour fruit into a square 8x8 inch pan and spread along bottom evenly.
  6. Pour crumble mixture over the top evenly.
  7. Bake for about 20 minutes or until golden brown and fruit juice is bubbling.
  8. Let cool for 20 minutes and serve slightly warm. :-)
Happy Baking! (And adventuring!)
Jessica

Thursday, July 29, 2010

A completely savory entry!

Here is my first completely original savory creation, which I hope you'll enjoy! Super simple and very tasty- even a day or two later re-heated as part of a leftovers potluck which my family is so fond of. :-)

Simple Veggie Saute

Ingredients:
  • 1 1/2 tablespoons butter
  • 12 ounces asparagus, washed and cut into inch-long pieces
  • 1 medium zucchini, washed and cubed
  • 2 small yellow squash, washed and cubed
  • 1 yellow bell pepper, washed and cut into 1 inch x 1 inch pieces
  • 1 orange bell pepper, washed and cut into 1 inch x 1 inch pieces
  • 1 small eggplant, washed and cubed
  • 1 teaspoon garlic paste
  • 2 teaspoons tomato paste
  • 1 1/2 tablespoons olive oil
  • 1 teaspoon garlic salt
  • salt and pepper to taste
Method:
  1. Melt 1 tablespoon butter in large saute pan on medium-high heat.
  2. Add chopped vegetables and stir to coat in butter.
  3. Let vegetables simmer uncovered for about 5 minutes, while in a small bowl you combine the garlic and tomato pastes, olive oil and garlic salt.
  4. Whisk together with a fork until the ingredients combine and drizzle over the pan of vegetables. Stir to incorporate.
  5. Let simmer for about 5 minutes, covered, and then add salt and pepper to taste, continually stirring.
  6. Cook for about 5-10 more minutes, or until vegetables become tender but do not let them get mushy.
  7. Remove from heat, stir again, and serve!
Happy Cooking! :-)
Jessica

Wednesday, July 28, 2010

Treat of the Week for Work: Chunky, Chewy Blondies

I know, you're going to ask me, why Jessica? It's not Friday yet, and you are clearly not organized enough to be posting in advance! Why is the treat up now? And the answer is really simple.
I'm taking a day off! On Friday, everyone will be getting up and doing their traditional morning routine a little less begrudgingly because the weekend is only a few hours away, but I'll already be there! I'll admit, I won't be sleeping in on my day off, but that's what it's for! To fully enjoy my free time with my Swiss visiting gal pal. And let me tell you, it is going to be SUCH a girly day. I'm getting excited just thinking about it, but I'll keep you hanging until Friday night when we get home and I can share our fun.
For now, these terribly addicting and should-be-illegal-in-all-50-states Blondies will have to satisfy you. These are adapted from Dorie Greenspan's Chunky, Chewy Blondies that were selected for Tuesdays with Dorie this week; I just couldn't resist the allure and had to whip up something similar to all the delightful confections that have been popping up in my RSS feed.

Best Blondies Ever. Period.
Adapted from Dorie Greenspan's Chunky, Chewy Blondies

Ingredients:
  • 2 cups flour
  • 3/4 teaspoon baking powder
  • 1/2 teaspoon baking soda
  • 1/2 teaspoon salt
  • 1 cup (2 sticks) unsalted butter, at room temperature
  • 1 cup light brown sugar
  • 1/4 cup sugar
  • 2 large eggs
  • 1 (heaping) teaspoon pure vanilla extract
  • 6 ounces 60% cocoa dark chocolate, broken into small chunks by hand
  • 1 cup peanut butter chips
  • 1 cup roughly chopped pecans
  • 5 ounces dried apricots, chopped into small chunks
Directions:
  1. Preheat oven to 325 degrees F.
  2. Spray a 9 x 13 baking dish with cooking spray (I use Pillsbury butter + flour) or grease pan with butter.
  3. Lightly mix together the flour, baking powder, baking soda, and salt.
  4. Now, pull out your trusty KitchenAid Mixer (WHICH I AM IN LOVE WITH!) fitted with the paddle attachment and beat the butter on medium speed until smooth and creamy. Add sugars and beat until well incorporated.
  5. Add the eggs one at a time, beating to combine before adding the next, then beat in the vanilla.
  6. At low speed, add the dry ingredients and mix until just combined.
  7. Using a spatula, stir in the chocolate, peanut butter chips, pecans, and apricots. Scrape the batter into the prepared pan and use the spatula to even out the top.
  8. Bake for around 40 minutes, or until a knife inserted into the center of the blondies comes out clean.
  9. Once cooled (after about an hour) cut into 32 squares.
Dorie's Tip: Transfer the pan to a rack and cool for about 15 minutes before turning the blondies out onto another rack. Invert onto a rack and cool the blondies to room temperature right side up.

Happy Baking!
Jessica

Tuesday, July 27, 2010

Birthday Cake and Ratatouille's Ratatouille!


This is all Smitten Kitchen, I'm not allowed to take ANY credit whatsoever. Deb is such an amazing cook and simply looking at her pictures makes me so excited to get on home and bake or even cook, now that I've become slightly more adventurous.
We had my brother's girlfriend over for dinner last night for the first time, even though they've been dating for 4 months! So I wanted to make something special for her. Although my 2-layer cake didn't end up perfectly 2-layered, it was still a fun night and even the ratatouille which I struggled with a bit, due to my horrible time-planning and overly ambitious nature, was a success!
Here are a few pics from the evening, and since I really made no changes to these already fabulous recipes, here are the original posts. Yes, I know they are much more beautiful than mine. ;-)

Happy Baking!
Jessica

Monday, July 26, 2010

CCPB Cookie-Perfection and A Wonderful Summer Quiche

I don't know how I did it, But somehow I managed. I probably ate about 4 cookies-worth of this dough, but who could blame me, really? It's just SO darn tasty! Of course I didn't just eat the finished cookie dough, nope. I had to test it every step along the way. Every. Single. Step. But boy, was it worth it. :-) The moral of this story? Don't make these alone!
So here I impart you with photos of absolutely perfect chocolate chip peanut butter cookies, from my friend Danielle's recipe. Sorry, the recipe is not mine to share! But gaze on at the magnificence, won't you? ;-)
I will however share a recipe for a vegetable quiche I made last night! Yes, my first real foray into savory baking- if you don't count bread (which I don't). This quiche was the perfect amount of work and reward- totally worth the 25 minutes of prep work and only 30 minutes of baking time, but it will depend on the crust you choose. I have always been a firm believer in real, old-fashioned crust- no matter how you make it, as long as you do! So using this Trader Joe's frozen crust irked me a little bit, but the recipe turned out so perfectly, and the rest of the quiche took a bit of work on it's own before baking, so time-wise it worked really well and my tummy is much too satisfied to complain. :)

(So much so that I completely forgot to take any pictures! I guess I'll just have to make it again!)

Asparagus and Spinach Quiche
(adapted from Closet Cooking)

Ingredients:
  • 2 tablespoons butter
  • 1 pound asparagus, trimmed, cleaned and cut into 1 inch pieces
  • 2 cloves garlic, chopped
  • 2 sweet yellow onions, chopped
  • 2 cups spinach
  • 6 eggs, lightly beaten
  • 3/4 cup nonfat milk
  • 1 cup gruyere (grated) + extra for topping
  • salt and pepper to taste
  • 1 pie crust

Directions:
  1. Melt 2 tablespoons butter in a large saute pan, on medium-high heat.
  2. Add the asparagus to the pan and saute until just tender, about 5-7 minutes.
  3. Add the garlic and sweet onions and saute until fragrant, about 2 minutes.
  4. Add the spinach and cook it until it wilts.
  5. Roll out pastry dough to package's instructions and place in greased pie pan.
  6. Mix the eggs, milk, cheese in a medium bowl, and add salt and pepper to taste.
  7. Drain the excess liquid from the vegetables, and then add the milk/egg/cheese mixture.
  8. Pour vegetable mixture into pie pan, and top with a few extra tablespoonfuls of grated gruyere.
  9. Bake in a preheated 375 degree F oven until golden brown and set in the center, about 33 minutes (in my oven).
Happy Baking!
Jessica

Sunday, July 25, 2010

Banana Bread, Cherry Tart and a Garage Sale!

Super fast post again, sorry! I made my favorite Heavenly Healthy Banana Bread, which you can find the recipe for here. I made this for my wonderful neighbor Leila, who was busy having a garage sale outside all day Saturday and Sunday, with some old bananas she so wisely froze.
Later, I decided something needed to be done about the state of our fridge. It was PACKED with Rainier cherries and they were practically begging to be used in a tart. So I whipped up a very simple cherry tart that I hope you'll enjoy for its simplicity. :)
Jessica's Simple Cherry Tart

Ingredients:
  • 1 1/4 cups all-purpose flour
  • 1/2 teaspoon salt
  • 2 teaspoons sugar
  • 4-5 tablespoons ice water
  • 40-50 cherries, pitted and halved
  • 1 tablespoon butter
  • 2 teaspoons sugar
  • 2 tablespoons raspberry jam
Directions:
  1. In a large bowl, stir together 1 1/4 cups all-purpose flour and 1/4 teaspoon salt.
  2. Cut in 1/3 cup shortening until pieces are peasize.
  3. Dribble 1 tablespoon cold water over part of the mixture; gently toss with a fork.
  4. Repeat moistening dough, using 1 tablespoon cold water at a time, until all the dough is moistened (4 to 5 tablespoons cold water total). Form dough into a ball.
  5. Roll out dough and fit to a 9-inch, buttered and floured, pie plate.
  6. Pierce the dough with the tines of a fork liberally all over.
  7. Bake for 10-12 minutes or until light, golden brown.
  8. In a small saute pan, melt butter on medium heat and add cherries. Coat well in butter and stir in 2 teaspoons sugar and jam.
  9. Continue to cook for about 5-8 minutes, until slightly tender.
  10. Pour cherry mixture onto cooled tart crust and let cool for a few minutes.
  11. Slice and enjoy!
Happy Baking!
Jessica

Friday, July 23, 2010

Fresh Apricot Tart

Very quick post today, here's a fabulous recipe and when I didn't follow it very well (aka: used apricots instead of apples and didn't add any jam) was okay, but not great. Here's the original recipe, do with it what you will, but it is an absolutely DELICIOUS crust, I just goofed a little with the topping. :)
Alice Waters’ Apple Tart

Dough:
  • 1 cup unbleached all-purpose flour
  • 1/2 teaspoon sugar
  • 1/8 teaspoon salt
  • 6 tablespoons (3/4 stick) unsalted butter, just softened, cut in 1/2-inch pieces
  • 3 1/2 tablespoons chilled water

Filling:
  • 2 pounds apples (Golden Delicious or another tart, firm variety), peeled, cored (save peels and cores), and sliced
  • 2 tablespoons unsalted butter, melted
  • 5 tablespoons sugar

Glaze:
  • 1/2 cup sugar
Directions:
  1. MIX flour, sugar, and salt in a large bowl; add 2 tablespoons of the butter. Blend in a mixer until dough resembles coarse cornmeal. Add remaining butter; mix until biggest pieces look like large peas.
  2. DRIBBLE in water, stir, then dribble in more, until dough just holds together. Toss with hands, letting it fall through fingers, until it’s ropy with some dry patches. If dry patches predominate, add another tablespoon water. Keep tossing until you can roll dough into a ball. Flatten into a 4-inch-thick disk; refrigerate. After at least 30 minutes, remove; let soften so it’s malleable but still cold. Smooth cracks at edges. On a lightly floured surface, roll into a 14-inch circle about 1/8 inch thick. Dust excess flour from both sides with a dry pastry brush.
  3. PLACE dough in a lightly greased 9-inch round tart pan, or simply on a parchment-lined baking sheet if you wish to go free-form, or galette-style with it. Heat oven to 400#176;F. (If you have a pizza stone, place it in the center of the rack.)
  4. OVERLAP apples on dough in a ring 2 inches from edge if going galette-style, or up to the sides if using the tart pan. Continue inward until you reach the center. Fold any dough hanging over pan back onto itself; crimp edges at 1-inch intervals.
  5. BRUSH melted butter over apples and onto dough edge. Sprinkle 2 tablespoons sugar over dough edge and the other 3 tablespoons over apples. (Deb note: I found it nearly impossible to coat it with this much sugar, so I used a little less–more like 3 tablespoons. It made a lightly sweet tart, which we found perfect.)
  6. BAKE in center of oven until apples are soft, with browned edges, and crust has caramelized to a dark golden brown (about 45 minutes), making sure to rotate tart every 15 minutes.
  7. MAKE glaze: Put reserved peels and cores in a large saucepan, along with sugar. Pour in just enough water to cover; simmer for 25 minutes. Strain syrup through cheesecloth.
  8. REMOVE tart from oven, and slide off parchment onto cooling rack. Let cool at least 15 minutes.
  9. BRUSH glaze over tart, slice, and serve.
Happy Baking!
Jessica

Thursday, July 22, 2010

Treat of the Week for Work: Lemon Blueberry Scones and for my bestie! :)

I profusely apologize, to whoever you are, reading this blog, because I didn't post yesterday! I know, I've tried to be pretty good about updating daily and baking daily, but yesterday was just a no go. I struggled throughout the day to stay awake- even at work! The worst part is that these days I'm interacting with people in a one-on-one sort of way- doing interviews! So, yawning about 3 minutes into an hour-long interview doesn't exactly set the right tone for people who are volunteering their time. But, everybody's going to have those days every once in a while, so again I'm sorry and I hope you'll forgive me as I share these light and fluffy, delightful lemon-blueberry scones.
Also, a few days ago I sent in a photo from this blog to PhotoGrazing.com, a site that shows off various pictures of food from bloggers and other sites. They said that any pictures that got chosen would be put up within 48 hours, so by this morning I had sort of lost hope that I would get a spot on this beautiful site, but lo and behold- at 9:55 this morning my picture was up there! If you want to go take a look, search for this web-link, or the Rhubarb Apple Crisp I made on Sunday.
Lemon-Blueberry Scones
(from Inspirational Ingredients)
Yields about 15 scones (When I doubled the recipe it made 30)

Ingredients:
  • 2 cups Flour
  • 1 – 1 1/2 cups Blueberries (use however many you have or like, I used more becausewell, I like more)
  • 1/4 cup Sugar plus extra for dusting
  • 1 tbsp Lemon Zest
  • 1/4 tsp Salt
  • 1/2 tsp Baking Powder
  • 3 tbsp fresh Lemon Juice
  • 1/2 cup Sour Cream
  • 1/2 Stick Butter
  • 1 tsp Vanilla
  • 1 Egg – Beaten
Preheat Oven to 375 degrees
1. In a mixing bowl combine flour, sugar, baking powder, salt and lemon zest
2. Cut butter into squares and add to dry ingredients until just combined
3. Add egg, sour cream, vanilla, lemon juice and blueberries and mix until
it just comes together.
4. Move to floured surface and knead softly until combined and form into a circle
about an inch and 1/2 thick.
5. Drop 1 1/2 inch scoops of dough onto a parchment paper-lined baking sheet
6. Brush tops with melted butter and sprinkle with sugar.
7. Bake for Approx. 20-25 minutes or until just golden brown.

Happy Baking!
Jessica

Tuesday, July 20, 2010

Outraaageous Brownies!

NEED CHOCOLATE!

In kind of a bad way... But it's okay... These are for my brother! Not me, promise!

Well...I'll try some, you know, just to make sure they taste alright... And then I ate half the pan. :)
These were originally Ina Garten's Outrageous Brownies, but so
mehow ended up as a simplified variation, but it was oh so good.


Outrageous Brownies

(Adapted from Ina Garten)


Ingredients

  • 1/2 cup (1 stick) unsalted butter
  • 7 ounces chocolate chips
  • 1.5 ounces unsweetened chocolate
  • 1 egg
  • 1 egg white
  • 1/2 tablespoon vanilla extract
  • 1/4 cup sugar
  • 1/3 cup flour
  • 1/4 tablespoon baking powder
  • 1/4 teaspoon salt

Directions

  1. Preheat oven to 350 degrees F.
  2. Butter and flour a loaf pan.
  3. Melt together the butter, chocolate chips, and the unsweetened chocolate in a medium bowl, in the microwave (40 seconds, stir, 50 seconds, stir well again). Allow to cool slightly.
  4. In a large bowl, stir (do not beat) together the eggs, vanilla, and sugar. Stir the warm chocolate mixture into the egg mixture and allow to cool to room temperature.
  5. In a medium bowl, sift together the flour, baking powder, and salt. Add to the cooled chocolate mixture. Pour into the baking sheet.
  6. Bake for 15 minutes, then rap the baking sheet against the oven shelf to force the air to escape from between the pan and the brownie dough. Bake for about 15 minutes, until a toothpick comes out clean. Do not over-bake! Allow to cool thoroughly, refrigerate, and cut into 6 medium squares. (For my house, any more would be insanity!)

So go ahead and give them a try!

Happy Baking!
Jessica

Monday, July 19, 2010

Clafoutis aux Abricots

Why, oh why? Can someone please tell me why "The Mentalist" Season 2 is not available on Apple TV? I just don't understand! It's driving me crazy! I miss Patrick Jane and his gorgeous smile way too much... What can I have to look forward to all day at work now?
To make myself feel a little better, I decided to buy some fresh apricots and make some mini clafoutis, and they helped....a little bit. :) Here is a superbly delicious recipe for Apricot Clafoutis, a dessert that can be easily dressed up by making individual portions or dressed down by tossing it all into one large, homey pan.
Apricot Clafoutis
(adapted from Eating Well)

Ingredients:
  • 6 apricots, pitted and cut into wedges
  • 1 teaspoon Grand Marnier
  • 1 teaspoon lemon zest
  • 2 teaspoons lemon juice
  • 2 tablespoons sugar (plus more for sprinkling)
  • 1 small egg
  • 1/3 cup nonfat milk
  • 1 tablespoon + 1 teaspoon all-purpose flour
  • 1/2 teaspoon vanilla extract
  • Pinch of salt
Directions:
  1. Combine apricots and Grand Marnier in a large bowl. Grate zest from the lemon and set aside. Juice the lemon and stir 2 teaspoons of the juice into the apricots. Let stand for at least 1 hour.
  2. Preheat oven to 350°F. Coat 3 small ramequins with cooking spray. Sprinkle about 1/2 teaspoon sugar evenly over the bottom of each. Drain the apricots (reserving the syrup) and arrange in the baking dish.
  3. Combine egg and the sugar in a medium bowl. Beat with an electric mixer on medium speed until pale yellow. Add milk, flour, vanilla extract, salt, the reserved lemon zest and the reserved syrup; beat well to blend. Pour the batter over the apricots.
  4. Bake the clafoutis until puffed and golden, about 3o minutes. Let cool about 20 minutes. Serve warm or room temperature.
Happy Baking!
Jessica

Sunday, July 18, 2010

Easy Healthy Rhubarb-Apple Crisp

After a wonderful hike this morning at the Dish at Stanford with my mom, I came home and grabbed a quick lunch before meeting up with Micala to see a new Bollywood movie that's out, "I Hate Luv Storys." It was so cheesy and over-the-top but totally entertaining, with WAY too much singing and dancing for us to take it seriously. :)
On my drive home I was trying to think of something to make and remembered we had a leftover bag of frozen rhubarb in the freezer that I needed to make before it went bad. So after a quick internet search, I found a nice recipe for a Rhubarb Crisp at Eating Well, and after a few changes I had three cute little individual servings of a yummy and simple dessert.


Rhubarb-Apple Crisp
(adapted from Eating Well)

Ingredients:

  • 1 cup thinly sliced rhubarb (I used frozen and let it thaw for about 20 minutes before using)
  • 1/2 cup chopped peeled Granny Smith apple
  • 3 tablespoons granulated sugar
  • 2 tablespoons all-purpose flour
  • 2 tablespoons old-fashioned rolled oats, (not steel-cut or instant)
  • 1 1/2 tablespoons finely chopped almonds
  • 1 tablespoon unsalted butter, melted
  • 1/8 teaspoon salt

Directions:

  1. Preheat oven to 350°F.
  2. Toss rhubarb, apple and granulated sugar in a medium bowl. Divide between three oven-safe ramekins or custard cups.
  3. Mix flour, oats, brown sugar, almonds, butter and salt in a small bowl until crumbly. Sprinkle over the rhubarb mixture.
  4. Bake until bubbling and lightly browned, about 25 minutes. Cool for 5 minutes before serving.
Happy Baking!
Jessica

Saturday, July 17, 2010

Dorie's Thumbprints

After such a long day yesterday watching my brother play a golf match in Antioch- it was 100 degrees all afternoon! I just did not have the energy to bake anything when we got home at 11pm. It was great to finally watch Zach play a full round and I am so impressed that he's able to play golf day in and day out, without being exhausted ALL the time! As I write this, he's on his way to a course in Aptos with my dad for another round! :-)
So today, I am fully making up for my missed day by making Dorie's "Thumbprints For Us Big Guys." I'd had my eye on them all week but I'm so happy I waited until I had some free time to make them in a leisurely way, they were so simple and classic, but easy to customize with a simple change of filling. I used raspberry jam in some, apricot preserves in others, and of course Nutella in just a few. ;-) Easy and low-key but cute and tasty, give them a try!

Thumbprints For Us Big Guys

adapted from Dorie Greenspan's Baking From My Home to Yours

  • 1 3/4 cups finely ground walnuts
  • 1 3/4 cups all-purpose flour
  • 2 sticks (8 oz) unsalted butter, at room temperature
  • 1/2 cup sugar
  • 1 1/2 teaspoons pure vanilla extract
  • Confectioner’s sugar, for dusting
  • About 1 cup jam/preserves/Nutella for the filling

GETTING READY: Position the racks to divide the oven into thirds and preheat the oven to 350 degrees F. Line two baking sheets with parchment or silicone mats.

Whisk together ground nuts and flour.

Working with a stand mixer, preferably fitted with the paddle attachment, or with a hand mixer in a large bowl, beat the butter and sugar together on medium speed until light and fluffy, 3 to 4 minutes. Add the extracts and beat to blend. Reduce the mixer speed to low and gradually add the nut-flower mixture, mixing only until it is incorporated into the dough.

Working with a teaspoonful of dough at a time, roll the dough between your palms to form small balls and place the balls 2 inches apart on the baking sheets. Steadying each cookie with the thumb and forefinger of one hand, use the pinkie of your other hand (or the end of a wooden spoon) to poke a hole in the center of each cookie. Be careful not to go all the way down to the baking sheet.

Bake for 15 to 18 minutes, rotating the sheets from top to bottom and front to back at the midway point. The cookies should be only slightly colored–they may even look underdone, which is fine: they should not be overbaked. When the cookies are baked, remove the baking sheets from the oven and let the cookies rest on the sheets for 2 minutes before transferring them to cooling racks with a wide metal spatula and sifting confectioner’s sugar over them.

Repeat with the remaining dough, remembering to cool the baking sheets before baking the next batch.

Bring jam to a boil in a small saucepan over low heat, or bring to a boil in a microwave oven; remove from the heat. Fill the indentations of all the cookies with enough of the hot jam to come level with the tops. Cool to room temperature.

Happy Baking!

Jessica

Friday, July 16, 2010

Treat of the Week for Work: Healthy Zucchini-Walnut Bread

Yesterday, my amazing coworkers brought me a fresh zucchini from a neighbor's garden- it was organic and HUGE! I was so thrilled to have such a fabulous ingredient to bake with, and they suggested I use it for zucchini bread- yum! I scavenged around a bit to find a good recipe and discovered a wonderful and healthy bread, that ended up tasting amazing.
My favorite thing about this recipe is how healthy it tasted- not in a gross, bland way, but in a way that I knew I was eating something that wasn't stuffed with preservatives or sugar- perfect! :)
The only changes I made to the original recipe were to half the sugar and exclude the cinnamon (yuck!) since I knew the apple sauce would sweeten it on its own. And instead of lemon extract, I subbed in vanilla- I love me some vanilla extract! (It just always adds that homey and warm essence that I love)

Zucchini-Walnut Loaf
(adapted from Eating Well)

Ingredients:

  • 3/4 cup whole-wheat flour
  • 3/4 cup all-purpose flour
  • 1 teaspoon baking powder
  • 1/4 teaspoon baking soda
  • 1/4 teaspoon salt
  • 1/4 teaspoon ground nutmeg
  • 2 large egg whites, at room temperature
  • 1/2 cup brown sugar
  • 1/2 cup unsweetened applesauce
  • 2 tablespoons canola oil
  • 1/4 teaspoon vanilla extract
  • 1 cup grated zucchini, lightly packed (about 8 ounces)
  • 1/4 cup chopped walnuts

Directions:

  1. Preheat oven to 350°F. Coat 2 mini 6-by-3-inch loaf pans with cooking spray.
  2. Whisk whole-wheat flour, all-purpose flour, baking powder, baking soda, salt, cinnamon and nutmeg in a large bowl.
  3. Whisk egg whites, sugar, applesauce, oil and lemon extract (if using) in a medium bowl. Stir in zucchini.
  4. Make a well in the dry ingredients; slowly, mix in the zucchini mixture with a rubber spatula. Fold in walnuts. Do not overmix. Transfer the batter to the prepared pans.
  5. Bake the loaves until a toothpick comes out almost clean, 40 to 45 minutes. Cool in the pan on a wire rack for about 5 minutes, then turn out onto the rack to cool completely.

Give it a try and I guarantee you will love this for a nice breakfast on the go!

Happy Baking!
Jessica